Over the next few weeks, I will be discussing how to easily and effectively give yourself an at-home facial. This series will include basic steps for an effective home facial, tips and tricks for getting the most out of your facial, and a self-care challenge to conclude our series, committing to regular at home facials.
The at-home facial is wonderful for a variety of reasons. It is fabulous for maintaining your skin in between those recommended professional facials every few months. Additionally, at-home facials can deeply cleanse and exfoliate the skin, while adding some skin loving nutrients your skin will drink up. Lastly, there is something so relaxing about an at-home facial. It is a mood lifter and a confidence booster too. So, everyone pull those clay masks out of your cabinet and follow these easy steps.
1. Remove your make-up. Start with gently removing your eye make-up. I love to use Avapure’s Eye Make-up Remover and a Norwex face cloth (the face cloth alone is too rough around my delicate eye area). According to Sarah from Skincare by Sarah, the best way to wash your face is without water! Apply cleanser to dry skin. Massage into your skin for about 1 minute, or until the cleanser is nearly soaked in. After the cleanser is absorbed well into the skin, add water and continue massaging for an additional minute. This allows the cleanser to go deeper into the pores, loosening up any make-up and environmental build up.
2. Exfoliate! I love exfoliating. It is like a relaxing massage for your face. I love Avapure’s Honey and Herbs Scrub or the Ylang Ylang and Lime Facial Scrub. Both are gentle, non-toxic and have the added benefits of herbs and essential oils. In a pinch, some at home items will work well enough. Try making a paste out of baking soda. This is surprisingly effective, even on sensitive skin. Another option is organic rolled oats blended up into a fine grain. Whichever product you choose, apply it in circular motions avoiding the delicate skin around the yes. Good exfoliation is the base to exposing new, healthy skin for your next few steps.
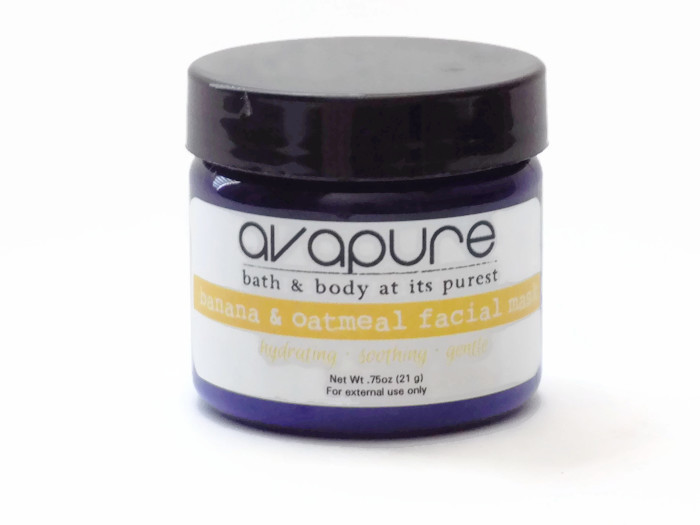
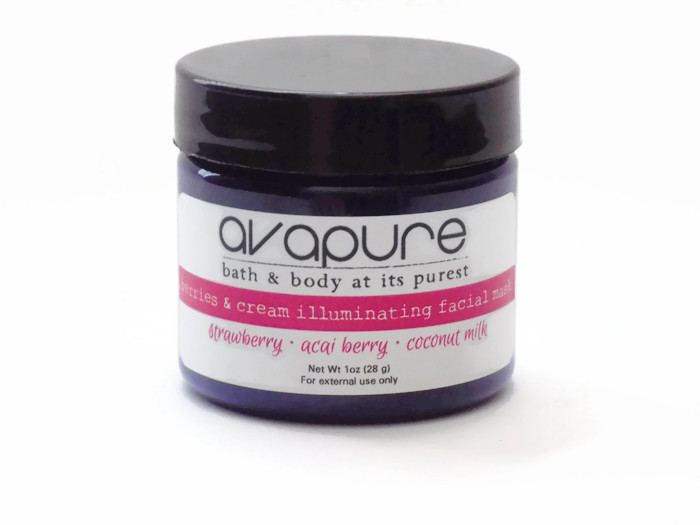
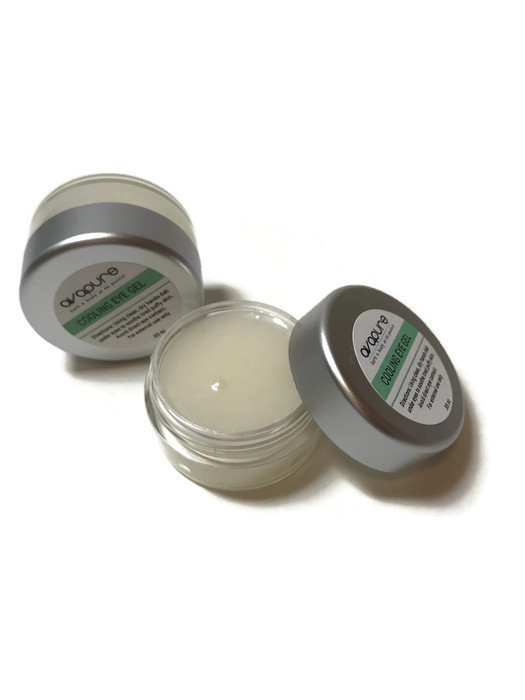
3. The mask comes next! This is the most relaxing part of the facial. Mix up your favorite Avapure mask and apply the cool treatment to your skin, avoiding the delicate skin around the eyes. Sit back and meditate in the calm. Take this 15 minutes to focus on your skin and de-stress. If you choose, apply Avapure’s Cooling Eye Gel around and under the eye area. This cucumber gel is the perfect compliment to your mini spa session.
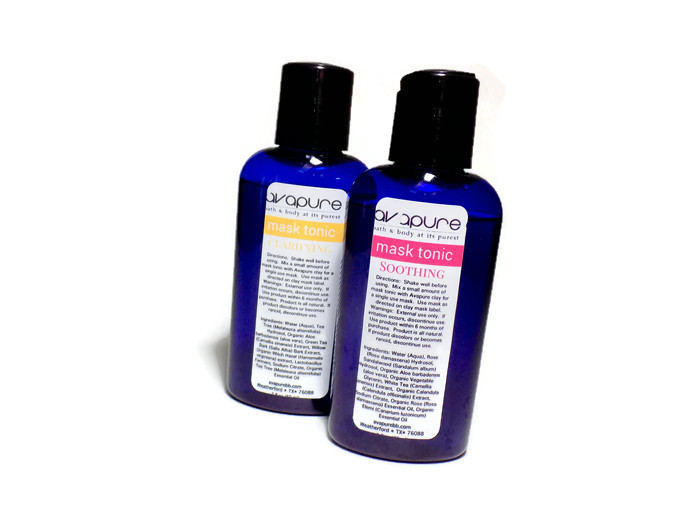
4. Toner is the most underrated part of the facial. After so much cleansing and exfoliating from the past four steps, your skin is raw and exposed. What goes on your skin next is crucial: this layer should be soothing and chock-full of vitamins and antioxidants to restore your skin back to its normal pH. Avapure’s toners are all in a range for healthy skin (4.5-5.5)
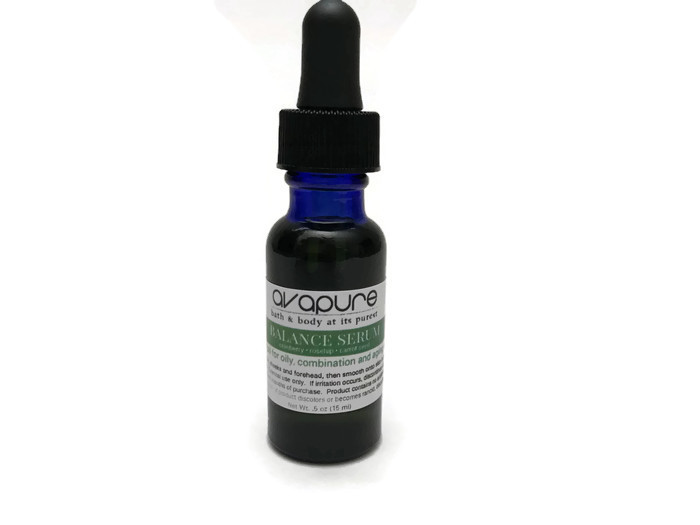
5. The rest is up to you! Personally, I prefer going all out during my at home spa session. I will apply an oil facial serum such as Avapure’s Balancing Serum followed by the Priming Balm or Repair Collagen Serum. Both contain Hyaluronic acid, which penetrates deep inter the dermins, hydrating and boosting elasticity of the skin.
6. Lastly, apply your traditional cream based moisturizer such as Avapure’s Power C Facial Cream, containing Camu Camu extract which is incredibly high in Vitamin C and promotes a bright, healthy glow.
These simple steps will create a luxurious at-home facial that will trick your supple radiant skin into thinking you spent the entire day at the spa!
